


Xamarin
Install Visual Studio
Xamarin Development requires either using Visual Studio on Microsoft Windows or Xamarin Studio on MacOS. This tutorial will only cover using the Datalogic Xamarin SDK in Visual Studio, but setup in Xamarin Studio should be possible and follow similar steps. This guide assumes you are using Visual Studio 2015. Using Visual Studio 2013 or 2017 should also be possible, but not covered below. If you do not already have a copy of Visual Studio (2013 or newer), you can download the free Community Edition from Microsoft. Next, follow Microsoft's Setup and install directions for Xamarin and Visual Studio 2015.
Create a Xamarin Project
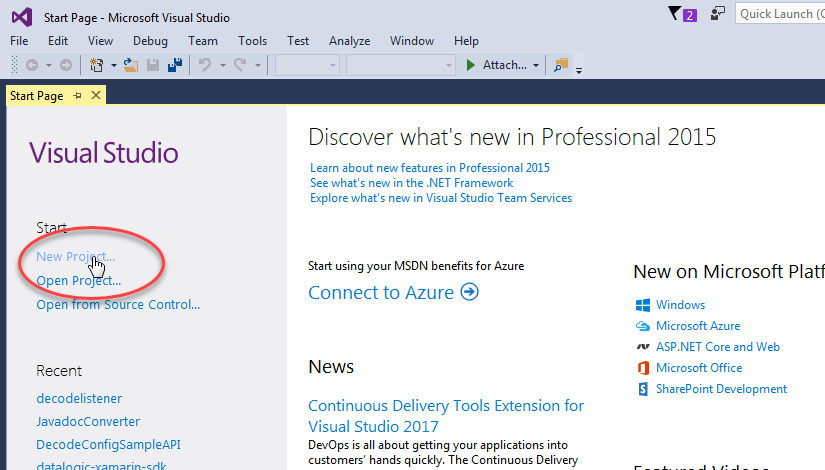
Open Visual Studio and select New Project...
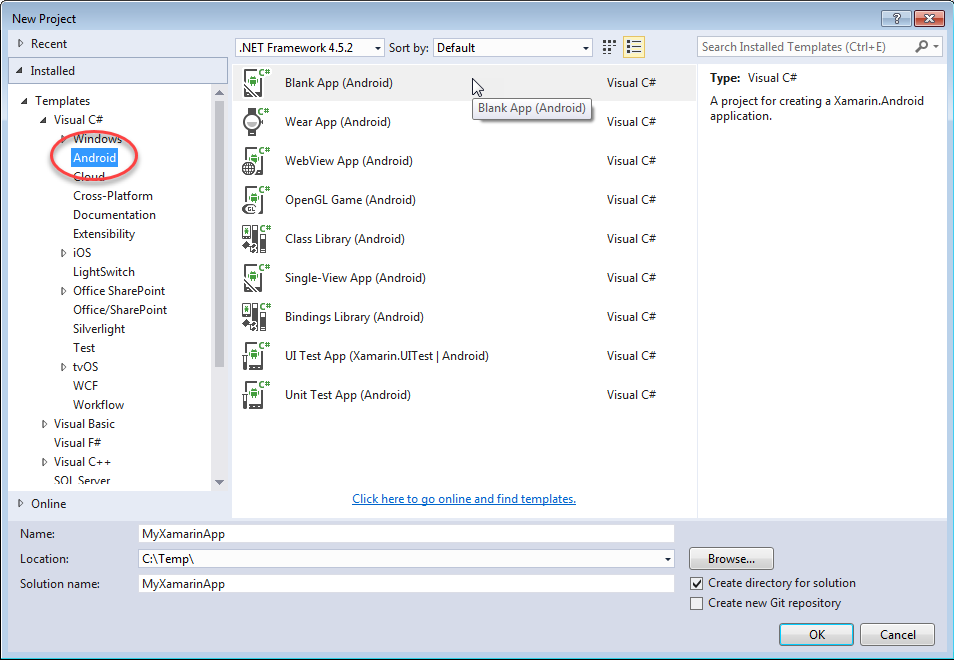
In the New Project window, navigate to Installed > Templates > Visual C# > Cross-Platform. Select Blank App (Android) (or another of the Blank App types, depending on your use case).
If you get a Xamarin Mac Agent prompt, click Close.
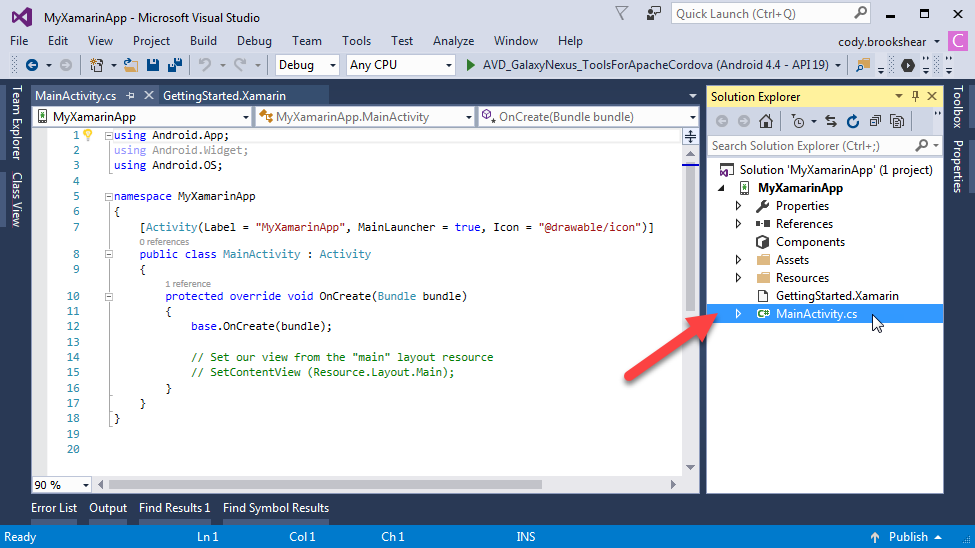
Your new project should now be created. In Solution Explorer, find and open MainActivity.cs. Your window should now look similar to this:
Note: If you would rather just start with an example Xamarin project that is already configured to use the Datalogic Xamarin SDK, check out the DecodeListener sample project.
NuGet
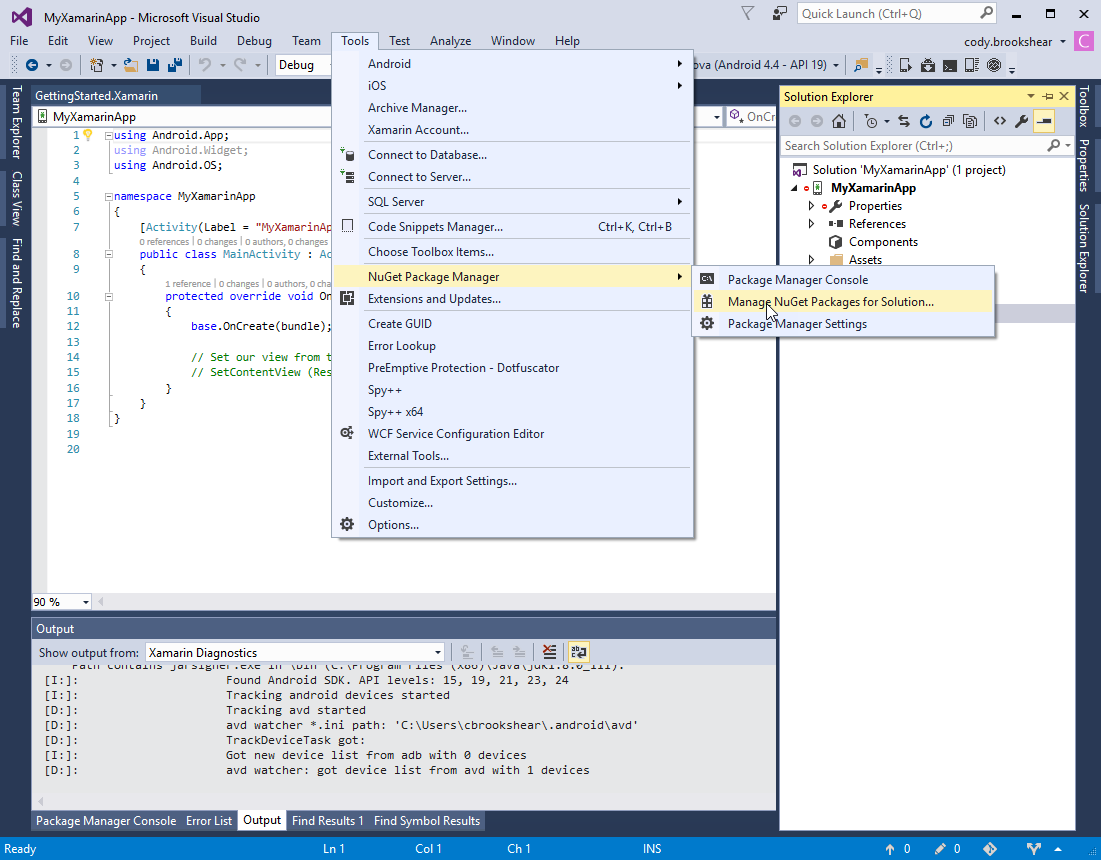
NuGet is a widely used package manager for .NET development that comes preinstalled in Visual Studio. Datalogic uses NuGet to distribute the Datalogic Xamarin SDK. First, open NuGet by navigating to Tools > NuGet Package Manager > Manage NuGet Packages for Solution.
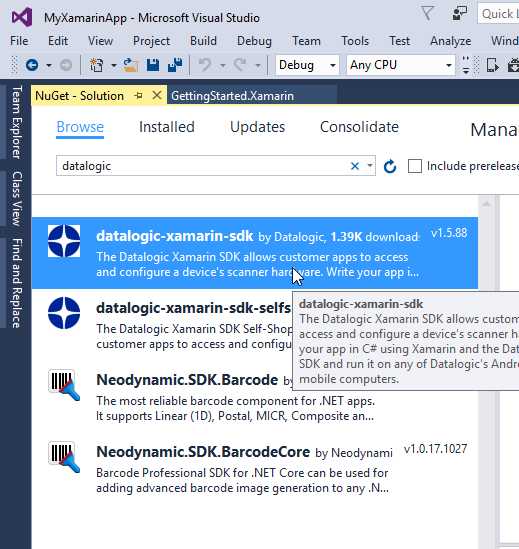
In the 'NuGet - Solution' tab, Click Browse. Type datalogic in the search box. Select the result titled datalogic-xamarin-sdk.
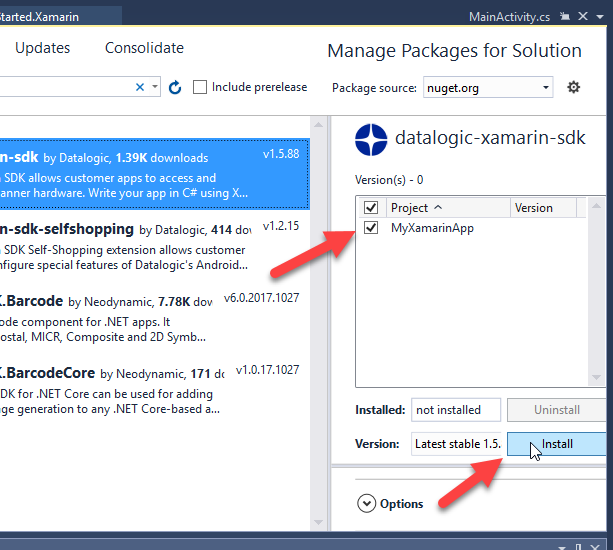
Next, select the MyXamarinApp.Droid Project and click Install.
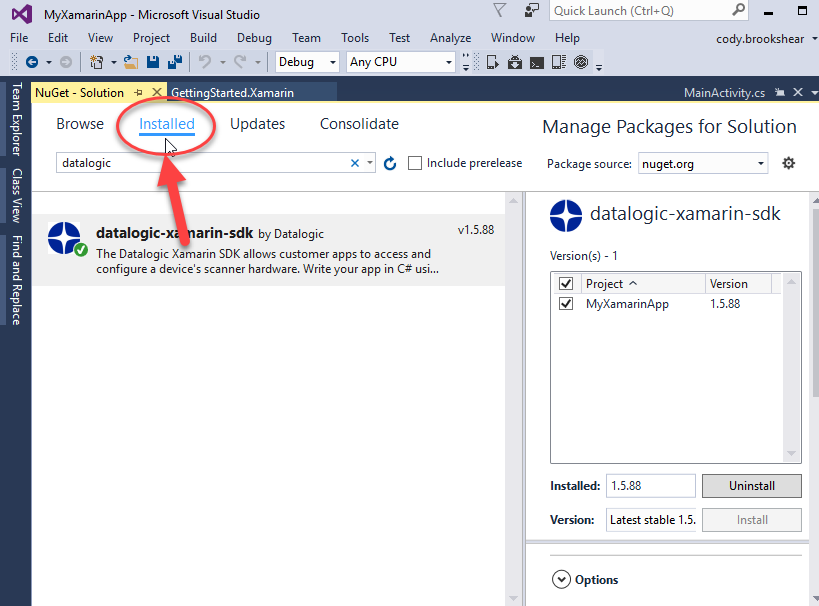
Click Installed at the top of the window. You will now see 'datalogic-xamarin-sdk' listed as an installed package.
You can now close the NuGet tab.
Android manifest
You will need to make a small change to the Android manifest file to use the Datalogic Xamarin SDK. In the Solution Explorer window, navigate to MyXamarinApp.Droid > Properties, and double click on AndroidManifest.xml.
Add the following line to file, as a child node inside the applicaiton node. In other words, before the closing </application> tag:
<uses-library android:name="com.datalogic.device" android:required="true" />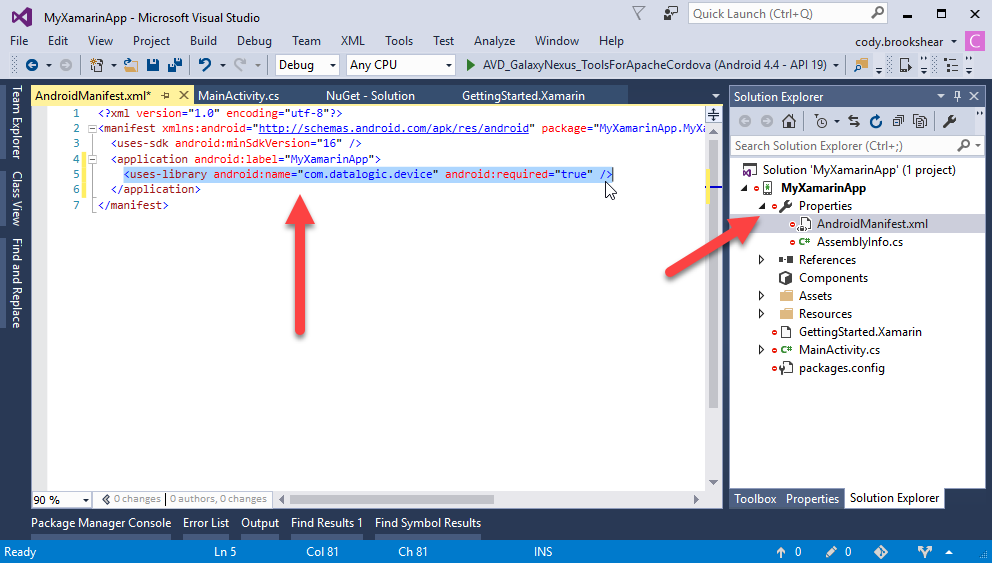
Alternatively, you can add the following line to your project's AssemblyInfo.cs:
[assembly: UsesLibrary("com.datalogic.device", true)]Note: If you are using the Selfshopping extension SDK, you will need to add the following line as well:
    <uses-library
        android:name="com.datalogic.extension.selfshopping"
	    android:required="true" />
Alternatively, you can add the following line to your project's Asse mblyInfo.cs:
[assembly: UsesLibrary("com.datalogic.extension.selfshopping", true)]Use the SDK
You can now start using the SDK in your code. For example, open MainActivity.cs inside the MyXamarinApp.Droid Project. Add this line in your code:
Com.Datalogic.Decode.BarcodeManager barcodeManager = null;You should see that Intellisense is working for the Datalogic Xamarin SDK as you type. At this point, you could go over to the DecodeListener sample project to understand what is necessary to receive barcode data in your application.
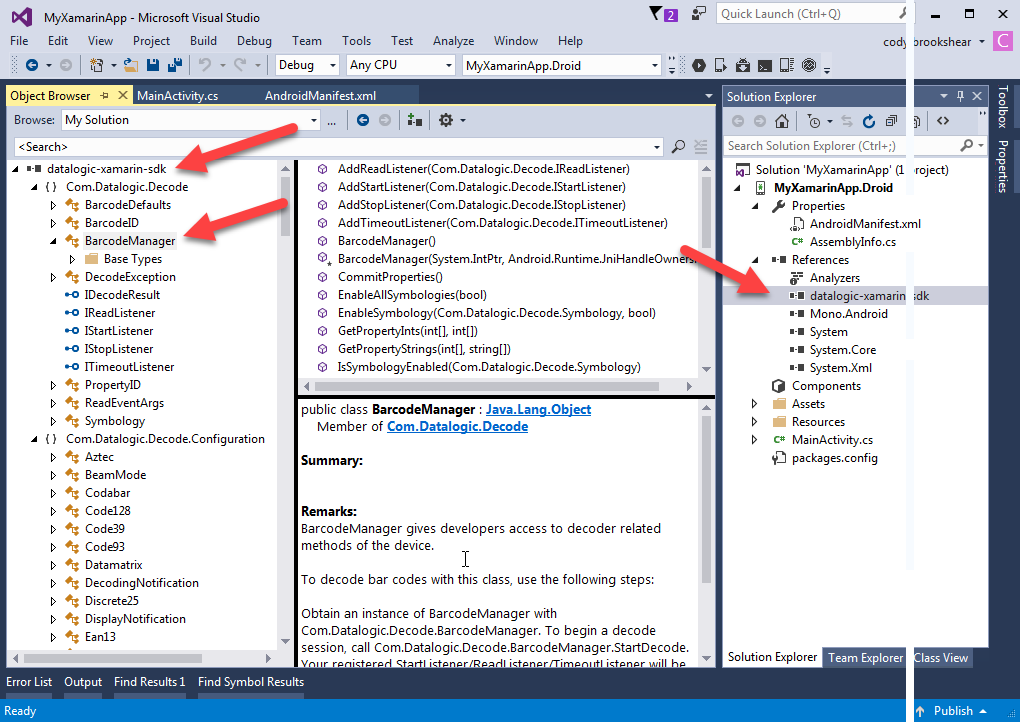
You can use the Object Browser to list the available constants, classes, interfaces and methods, along with documentation for each. To open the Object browser, double click on datalogic-xamarin-sdk under MyXamarinApp.Droid > References in the Solution Explorer window. Now, in the Object Browser window, expand the datalogic-xamarin-sdk Assembly and find the item you are interested in researching.
Compile and Run
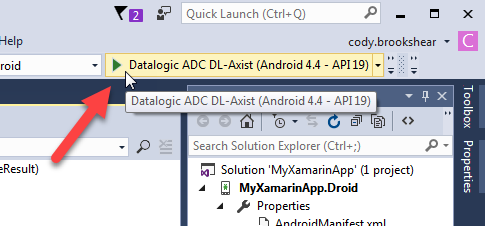
Connect your Datalogic mobile computer running Android to your computer via USB cable and click the Run button.
Congratulations, you are all set up! Head over to the Tutorials page to learn how to use various parts of the Datalogic Xamarin SDK.